
MX (Mail Exchange) records are DNS settings that direct emails to the correct servers. Without them, email delivery fails. Properly configured MX records ensure emails reach their destination, even during server outages. Here’s what you need to know:
- What Are MX Records? They define where emails for a domain should be sent. Priority values decide the order of servers to use.
- Why They Matter: Misconfigured records can lead to failed or delayed emails, affecting communication and business operations.
- How to Verify: Use tools like
nslookup,dig, or online services (e.g., MXToolbox) to check your MX records. Update them in your DNS settings if needed. - Common Issues: Missing records, incorrect priorities, or DNS propagation delays can disrupt email delivery.
Pro Tip: Lower your TTL (Time to Live) to 300 seconds before making changes for faster updates. After propagation (24-72 hours), reset it to a stable value.
Regularly check and maintain your MX records to avoid email issues and ensure smooth communication.
How MX Records Work | Email & DNS
Getting Ready to Check MX Records
Before diving into verifying your MX records, make sure you’re fully prepared by securing access and gathering the necessary details.
Access Your Domain Registrar or DNS Provider
The first step is logging into your domain registrar or DNS hosting provider. Use your account credentials to access the platform. If you’ve misplaced your login details, start by checking any billing emails related to your domain registration or transfer – they often include helpful account information. Still stuck? Reach out to the web administrator who initially set up your domain or contact your provider’s support team to reset your password. If you’re unsure who manages your DNS, most providers offer support resources or tools on their websites to help you find this information.
Collect the Necessary Information
Having the right details on hand will make the verification process smoother. You’ll need your full domain name and a clear understanding of the current MX records configured for it. To check your existing setup, use an MX lookup tool like mxtoolbox.com. These tools let you see which mail servers are currently handling your email delivery. By reviewing this information, you’ll have a solid baseline to identify any discrepancies when updating your records.
Once you’ve gathered these details, remember that any changes you make will take some time to propagate across the internet.
DNS Propagation Time Frames
DNS propagation is a crucial concept to understand when working with MX records. It refers to the time it takes for DNS changes to update across the internet. This process isn’t instant because nameservers cache domain information. Typically, propagation takes 24 to 48 hours, but it can sometimes extend to 72 hours. If you want to speed things up, you can lower the Time to Live (TTL) value in your DNS settings – setting it to 300 seconds (5 minutes) at least 24 hours before making changes is a good practice. Once the changes have fully propagated, you can reset the TTL to a longer duration, such as 1 to 24 hours, to optimize performance.
During this propagation period, be aware that email delivery might face delays or temporary routing issues. To minimize disruptions, schedule changes during times of low email traffic and keep an eye on the process using online DNS propagation checkers. This proactive approach will help ensure a smooth transition.
How to Verify Domain MX Records
To verify your MX records, you’ll need access to your DNS settings and details about your email provider. This process involves checking your current setup and making any necessary updates to ensure proper email routing.
Find DNS Management Settings
Once you’re ready, log in to your domain registrar or DNS hosting provider and navigate to the DNS management section. This section could be labeled as “DNS Management,” “Domain Settings,” or “Domain Management,” depending on the provider. If you’re unsure, look for a search function within the control panel to help locate it quickly.
For example, if you’re using Squarespace, you’ll head to the domains dashboard, select your domain, and click “DNS” in the side panel. Other providers may have slightly different interfaces, but the process is generally similar.
If your domain is connected via DNS Connect, you’ll need to access the DNS settings through your DNS provider’s account instead of your registrar.
Check and Update MX Records
In the DNS management section, locate the table or list displaying your current MX records. These records define how email is routed for your domain. Review the entries to see if they point to your existing email provider.
To add or update MX records, you’ll need two key details: the priority number and the mail server hostname. The priority number determines the order in which servers handle email – lower numbers take precedence. For instance, set your primary server to priority 10 and backup servers to 20 or 30 for redundancy.
Enter the mail server hostname as a fully qualified domain name (FQDN). Some registrars may require a trailing period at the end of the hostname (e.g., smtp.google.com.), so check your provider’s documentation to confirm the correct format.
Remember, MX records must point to an A or AAAA record (a hostname) and cannot point to a CNAME record. This is a technical requirement to ensure proper email functionality. For the TTL (Time to Live), you can set it to 300 seconds for quicker updates or 3,600 seconds for a more stable configuration.
Save Changes and Check Propagation
Once your updates are complete, save the changes in your provider’s interface. This begins the DNS propagation process, during which DNS servers worldwide update their cached information with your new MX records. Propagation times can vary, so patience is key.
To track the progress, use online DNS propagation checker tools. These tools query servers from different regions – like North America, Europe, and Asia – giving you a global view of how your changes are spreading. Green checkmarks (✔️) indicate successful updates, while red crosses (❌) mean the records haven’t updated yet.
If propagation seems stalled after several hours, perform a DNS health check or use tools like MXToolbox, Google Workspace Toolbox, or NsLookup to confirm your MX records are resolving correctly.
During this time, monitor your email delivery. While most messages should go through without issue, temporary delays can occur as DNS updates propagate across the internet. Catching potential issues early will help ensure smooth email functionality.
Next, consider exploring advanced monitoring tools to maintain long-term email deliverability and performance.
MX Record Verification Tools and Methods
Ensuring your MX records are set up correctly is key to maintaining smooth email delivery. Here are some practical methods to verify them.
Command-Line MX Record Checks
Command-line tools are a direct way to check your domain’s mail routing setup. They provide real-time DNS details and are especially handy for quick diagnostics. If you’re on Windows, open Command Prompt, type nslookup, then set q=mx, and follow it with your domain name. For Linux and macOS users, the dig command is your go-to tool. Just type dig domain.com MX to retrieve detailed mail server information, including priority levels and hostnames.
Online DNS Lookup Services
If you’re not comfortable with command-line tools, web-based DNS lookup services are a user-friendly alternative. These tools query DNS servers and present results in an easy-to-read format. Some platforms even provide advanced features for deeper insights, making them a versatile option for both quick checks and ongoing monitoring.
MailMonitor for Advanced MX Monitoring
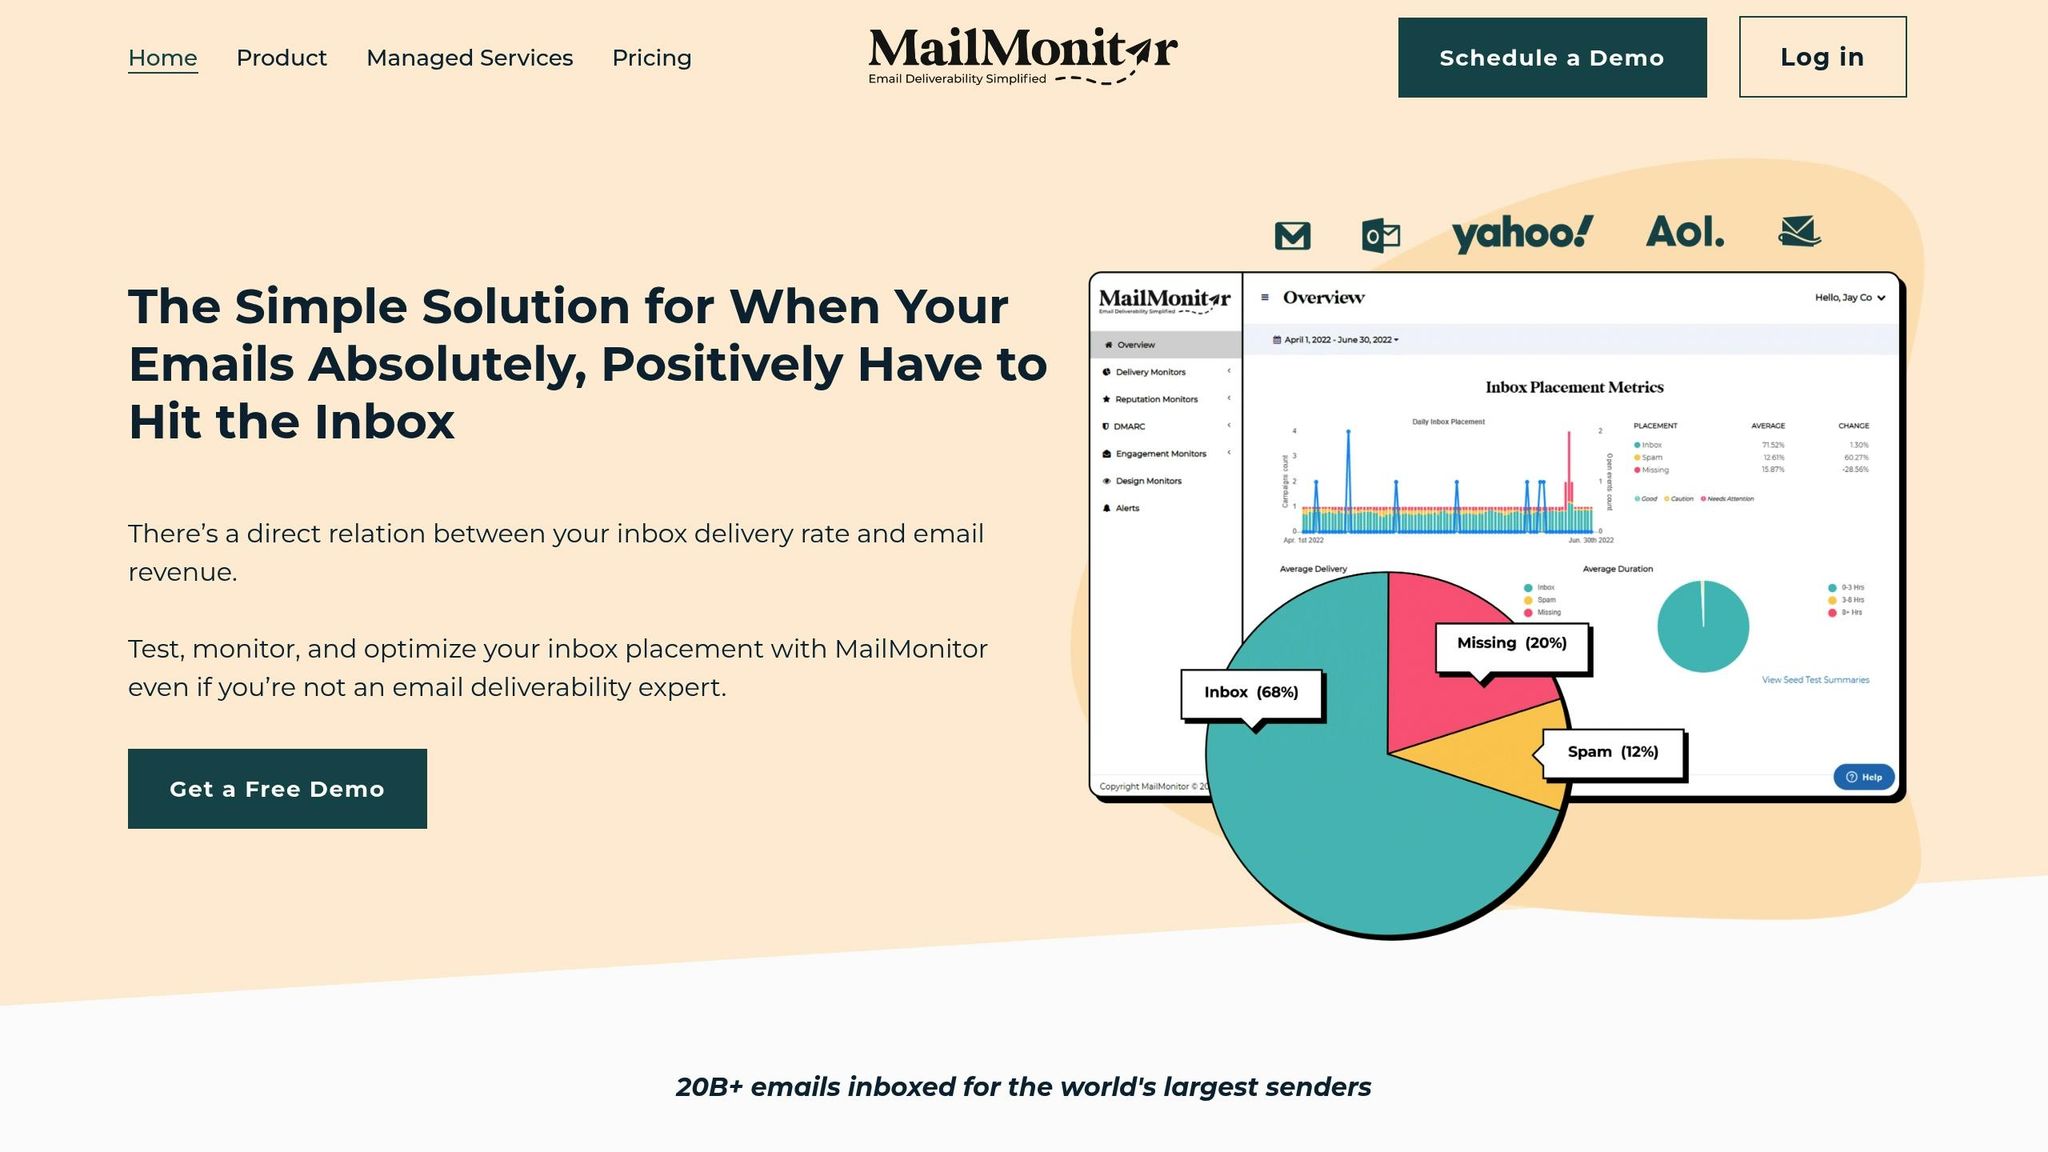
For those needing more than basic checks, MailMonitor offers a comprehensive solution. It goes beyond verifying MX records by testing email placement – showing whether your messages land in the inbox, spam folder, or promotional tabs. This kind of insight is invaluable for ensuring your MX records are supporting email delivery as intended.
MailMonitor also keeps an eye on critical aspects like sender reputation, email infrastructure, and ISP relationships. It sends out custom alerts when issues arise and offers additional tools like DMARC authentication, email verification, blocklist removal, and IP warm-up services.
Regular MX record verification is especially important during email service migrations or if you notice delivery problems. By combining the technical precision of command-line tools, the convenience of online services, and the robust features of MailMonitor, you can ensure your email infrastructure remains dependable and efficient.
Fixing Common MX Record Problems
MX record issues can throw a wrench in your email delivery system. These hiccups often arise from configuration errors, outdated settings, or delays in DNS propagation. Let’s dive into how you can address some of the most common MX record problems.
Fix Missing or Wrong MX Records
One of the primary culprits behind email delivery failures is missing or incorrectly configured MX records. Without the proper MX records, your emails might bounce back or end up routed to the wrong mail servers.
To fix this, log in to your DNS management panel and remove any outdated MX entries. Then, update your records to match your email provider’s specifications. Pay close attention to formatting guidelines provided by your domain registrar. If you’re uncertain about the correct settings, reach out to your registrar’s support team for guidance. Additionally, confirm that the priority values are set correctly to designate your primary and backup servers.
Fix Priority Value Problems
Once your MX records are in place, it’s essential to ensure that the priority values are set correctly. These values determine the order in which mail servers handle incoming emails when multiple servers are configured. Incorrect priorities can lead to emails being routed to backup servers, causing delays or even failures.
Priority values operate on a “lowest-number-first” basis. For example, an MX record with a priority of 10 takes precedence over one with a priority of 20. Double-check your settings to confirm that your primary mail server has the lowest priority number. If you’re only using a single server, a priority value of 10 or lower is recommended. Use tools like the nslookup.exe utility to verify that your MX records are prioritized correctly. If necessary, make adjustments through your DNS management interface and remove any conflicting entries.
Deal with DNS Propagation Delays
After making changes to your MX records, DNS propagation delays can temporarily disrupt email delivery. These delays occur because DNS servers worldwide need time to update their cached information. This process can take anywhere from 24 to 72 hours, depending on factors like Time to Live (TTL) settings, DNS cache behavior, and network conditions. Some servers may cache records for up to 48 hours, regardless of your TTL configuration.
To minimize delays, lower your TTL value to 300 seconds (5 minutes) at least 24 hours before making MX record updates. Once the changes have fully propagated, you can return the TTL to its default value. Clearing your local DNS cache can also help fetch the most recent records. For added assurance, consider flushing the cache of public DNS services like Google DNS (8.8.8.8) or OpenDNS.
Summary and Next Steps
Checking your domain’s MX records is vital for ensuring your emails are delivered reliably. This guide has covered everything from accessing DNS management settings to troubleshooting common issues. Keep in mind, MX record verification isn’t a one-and-done task – it requires regular attention to avoid potential communication hiccups.
As you wrap up the verification process, make it a habit to monitor your MX records consistently. Perform monthly audits and double-check them after any changes. Additionally, keep an eye on server health daily to catch and address issues early.
Testing should become part of your routine. For example, after updating MX records, send a test email to confirm everything is working as expected. A simple test like this can save you from bigger problems down the line. Tools like MXToolbox are handy for quick DNS checks, so consider bookmarking them for easy access.
It’s a good idea to schedule regular reviews of your MX records. Setting quarterly reminders can help you stay on top of configurations, especially if you manage multiple domains or have intricate email routing setups.
For a more thorough approach, consider using tools like MailMonitor. It offers advanced features such as MX monitoring, inbox placement testing, and reputation management. This all-in-one solution can help ensure your emails consistently land in inboxes instead of spam folders.
FAQs
How can I confirm that my MX records are set up correctly to avoid email delivery problems?
To ensure your MX records are correctly configured and avoid email delivery problems, double-check that your DNS settings include the correct mail server addresses and priority values provided by your email service provider. These records need to be accurately set up in your DNS management panel.
You can use online tools to verify the accuracy of your MX records and confirm they’ve propagated properly. Keep an eye out for any errors or mismatches in the setup. Regularly testing your MX records can help catch potential issues early, ensuring your emails are delivered without any hiccups.
What can I do if my emails are delayed or not being delivered because of MX record issues?
If your emails are running into delays or failing to send because of MX record issues, the first step is to confirm that your MX records are set up correctly and pointing to the right mail servers. Take a close look at your DNS settings to make sure everything is accurate. Also, keep in mind that any recent changes to your DNS might still be propagating, which can take up to 48 hours.
To troubleshoot further, you can use MX record lookup tools to check for errors or misconfigurations. If the issue continues, it might be worth testing your email deliverability using tools that evaluate inbox placement and sender reputation. These can help identify problems like spam filters or blocks. Staying on top of your DNS records and regularly checking your email reputation can go a long way in keeping your emails running smoothly and avoiding future delivery hiccups.
Why is it important to regularly check MX records, and how can I do it effectively?
Keeping an eye on your domain’s MX records is crucial for smooth email delivery, protecting against unauthorized changes, and ensuring emails are routed correctly. Overlooking these records can result in problems like email outages or potential security risks.
To stay on top of this, use automated tools to routinely check the configuration and accuracy of your MX records. If you spot any issues, address them right away to avoid disruptions and keep your email system running efficiently. Regular monitoring ensures your emails land where they’re supposed to, supporting both reliability and security.
